A soundproofed closet offers a great solution when you require a quiet space for recording or voiceovers. Because closets have fewer openings compared to larger rooms, they provide a simpler option for noise insulation.
To get the best sound control, you need proper soundproofing. It helps block outside noise and keeps sound from escaping a space.
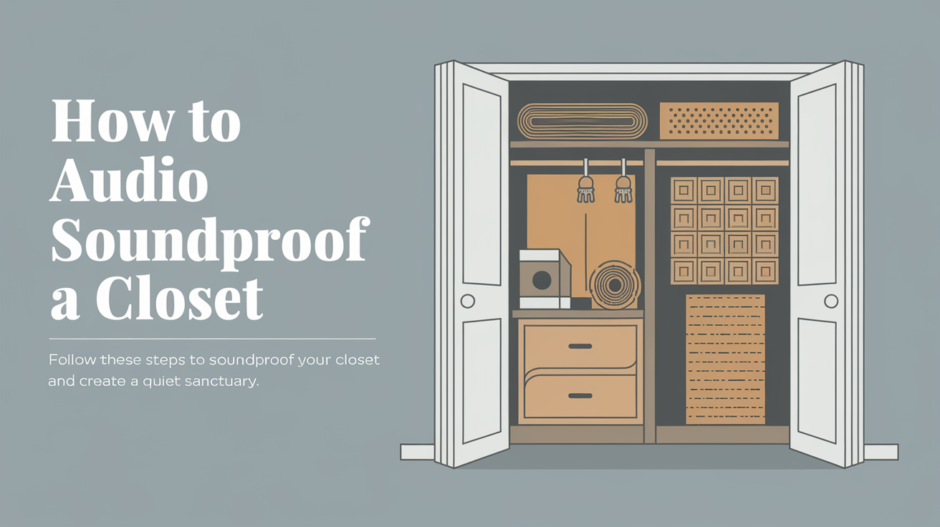
In this article, we will give you all the steps on how to audio soundproof a closet.
Basics on how to audio soundproof a closet
Soundproofing needs a thorough understanding of its four main principles:
- Absorption involves using soft materials such as foam and fabric to minimize sound reflections
- Blocking involves the use of dense materials to stop sound from passing through walls
- Damping involves minimizing wall and floor vibrations that transmit sound
- Decoupling works by physically separating structures to prevent the transmission of vibrations across solid surfaces
Using these techniques allows you to convert any closet space into a professional-grade quiet area.
1. Assessing Your Closet for Soundproofing
Assess your closet structure and noise specifics before implementing soundproofing materials.
What kind of noise is the problem?
- Use blocking methods such as extra drywall and door sealing to reduce disturbances from outside noise
- When you aim to keep sound from leaking out of your closet, you need to concentrate on absorption and damping techniques
Closet size and structure
- Larger closets may require more materials
- Walk-in closets require additional soundproofing materials compared to smaller closet spaces
Check for weak spots
- Doors often have gaps which serve as common sources of noise leakage
- The transmission of sound through thin walls and hollow doors happens with ease
Once you find areas that need improvement, you can create a very effective plan without costing too much.
2. Finding the Right Soundproofing Materials
Not all soundproofing materials are the same. Here’s an overview of the most effective soundproofing materials for closet spaces:
Acoustic Foam vs. Soundproof Foam
- Acoustic foam works to eliminate echoes but fails to prevent sound from passing through
- Combining soundproofing foam with dense materials effectively decreases the transfer of noise
Mass-Loaded Vinyl (MLV)
- This flexible material features density that effectively blocks sound waves
- Works well on walls, doors, and floors
Soundproofing Blankets
- Great for quick, temporary solutions
- Specialized acoustic blankets and heavy-duty moving blankets function as sound-absorption materials
Weatherstripping and Door Sweeps
- Weatherstripping and door sweeps work to seal gaps around doors to stop sound leaks from occurring
Carpets and Rugs
- Carpets and rugs serve to dampen the noise produced by footsteps and vibrations
3. Sealing Air Leaks and Gaps
Many people ignore air leaks and gaps but you need to make sure to seal it up as it will help with the sound escaping.
How to Seal Gaps
- Apply Acoustic Caulk which seals small openings and wall cracks next to door frames
- Place foam strips around your closet door to establish an airtight barrier
- A rubber or brush-style door sweep stops sound from escaping underneath the door
Even small gaps can significantly compromise soundproofing performance, sealing them is an important step that people tend to forget.
4. Soundproofing the Closet Walls
The walls in closets tend to be quite thin, making it easy for sound to transmit through them.
Effective Wall Soundproofing Methods
- Place acoustic panels against walls to capture sound waves and enhance recording quality
- A noise-reducing compound called Green Glue enhances sound blocking when used between two drywall layers
- Low-frequency noise reduction is achieved by installing bass traps in room corners
These methods work together to give a quiet space without echoes which is great for recording voices.
5. Soundproofing the Closet Door
The door is still the most unprotected area of every soundproofing system. The interior doors are usually built with hollow structures which allow great amounts of sound to pass through.
Ways to Soundproof the Closet Door
- Swap your door for a solid-core type since it gives superior sound insulation compared to hollow doors
- Install soundproof blankets or curtains that can be draped over the door to minimize noise transmission
- Door seal kits which include weatherstripping and bottom seals lead to better performance
Noise leaks from areas where the door meets the frame, therefore reinforcing the door will help maintain sound levels.
6. Soundproofing the Closet Floor and Ceiling
Most people forget that sound travels through floors and ceilings, so they tend to focus on doors and walls when trying to minimize sound penetration. To fully achieve soundproofing, these areas need focus as well.
How to Soundproof the Closet Floor
- A dense carpet or rug installation helps to absorb noise while decreasing impact noise levels
- Rubber mats beneath carpets create an additional noise insulation barrier
- When you install Mass-Loaded Vinyl beneath the carpet or floor material you achieve a substantial reduction in sound transmission
- Electronic equipment and microphone stands need anti-vibration pads to stop noise from transmitting through the floor
How to Soundproof the Closet Ceiling
- An extra drywall layer equipped with Green Glue effectively reduces sound transmission just as it does with wall partitions
- To counteract echo issues you need to affix acoustic foam panels onto the ceiling
- A floating ceiling with insulating materials decreases airborne noise from above
To stop sounds from coming in or escaping through gaps, it’s important to have soundproofing for the floor and ceiling.
7. Managing Ventilation and Airflow
Vents and gaps in the walls can allow for sound to escape or enter a closet, which makes it difficult to transform them into sound recording studios. As with all other spaces in the house, closets also require appropriate ventilation systems.
Ways to Soundproof Vents Without Blocking Airflow
- Acoustic Vent Covers allow air circulation while minimizing noise transmission
- A sound maze functions as a multipurpose box, because it contains various materials to absorb sound yet, maintain consistent airflow
- When ventilation becomes a problem, a whisper-quiet fan provides fresh air without creating noise disturbances
In order to remain comfortable and effective, proper airflow management and soundproofing must both be maintained.
8. Setting Up for Maximum Acoustic Performance
Once you have soundproofed the closet, everything else must be modified in order to reach the best audio quality in that space.
Tips for Enhanced Sound Quality
- Place acoustic panels at locations where sound reflections occur so they can absorb sound waves
- Bookshelves along with fabric furniture and curtains work together to reduce echo sounds
- When recording in this space ensure to place the microphone at a distance from walls and corners to minimize sound reflections
9. DIY vs. Professional Soundproofing
Depending on your budget and the amount of soundproofing you’d like, you can attempt a DIY project or hire an expert.
DIY Soundproofing Pros & Cons
Advantages
- More affordable
- Customizable based on needs
- People who like hands-on projects will find this approach enjoyable and fulfilling
Disadvantages
- May not achieve professional-level results
- Requires time and effort
Professional Soundproofing Pros & Cons
Advantages
- High-quality, long-lasting results
- Expert knowledge of materials and techniques
- Saves time and effort
Disadvantages
- More expensive
- Less flexibility in customization
Setting up a home recording studio can be done on one’s own effort. A specialist should be brought in during professional voice work that requires complete silence as this investment pays for itself.
Final Thoughts
Keeping a closet locked or narrowing its access to it makes it easier to reduce noise. Adding the right materials to your setup will make it so that soundproofing will be achieved while the closet can also be used as a recording or study room.
Whether you utilize a home studio or simply want to invest in higher-quality parts, soundproofing your closet will definitely pay off. Put weatherstrips and acoustic foam around the closet door first and watch how the soundproofing improves over time, increasing the upgrades as time passes.
A closet can be transformed into an acoustic paradise if the correct soundproofing technique is adopted.
If you learned something from this article make sure you check out which audio format is the best?